OBSOLETE: Making A Large Button
THESE INSTRUCTIONS ARE OBSOLETE, We no longer use badge a minit, we have a real button press.
Basics
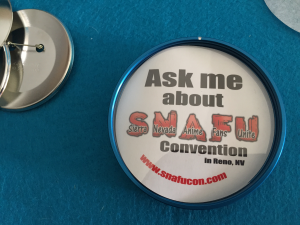
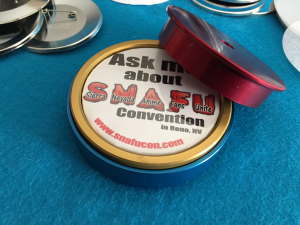
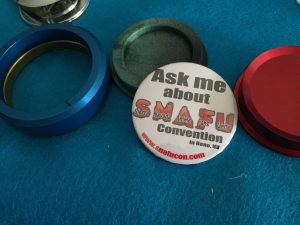
Our "Ask me about SNAFU Con" buttons are 3" buttons made on a Badge A Minit 3" Press machine which requires some assembly to make it work.
We did previously use these machines for our 1.25" buttons, but the failure rate was high and the quality was low. With the larger buttons the failure rate is very low, and the quality is very acceptable and not worth purchasing a new, more expensive machine.
For reference, our original purchase was this set.
Our adapter for the smaller buttons is cold-welded into the machine so we are currently using a hand-press until we can cut out the piece. The hand-press is not ideal but still works.
Procedure
Click on an image to see it larger. Full size images are 600px and are being displayed here at 300px.
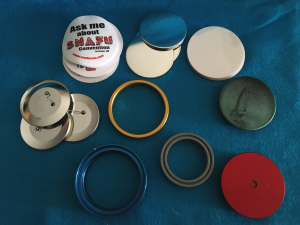
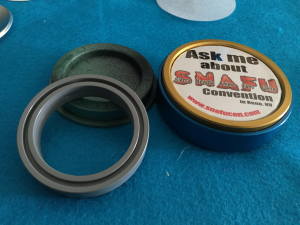
1. Gather your supplies and make sure you have all of the following:
- Paper button forms
- Button Fronts
- Clear Plastic Covers
- Button Backs
- Yellow Ring
- Green circle
- Blue Riing
- Gray Ring
- Red Circle
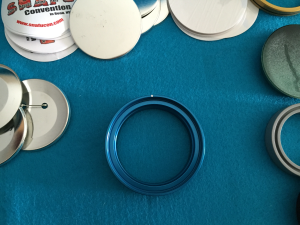
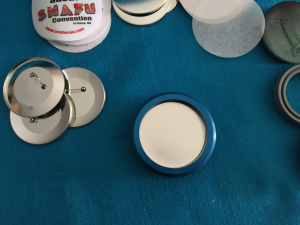
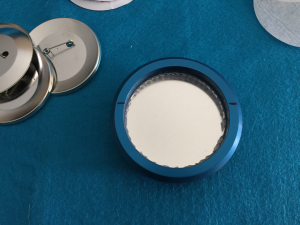
2. Start with the blue ring. Notice the notch at the top. That notch is the top of the button and should be references when lining up the art.
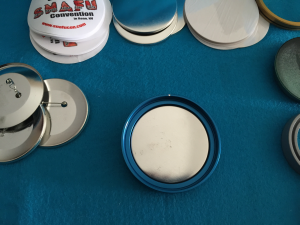
3. Insert a button back with the edges down so that the top is flat and facing you in the ring.
4. Insert your paper form, facing up. Don't worry too much about making it line up perfectly just yet.
5. Insert the clear plastic cover on top.
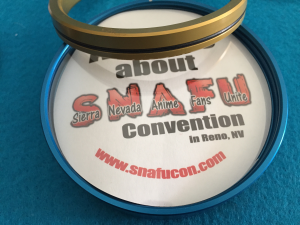
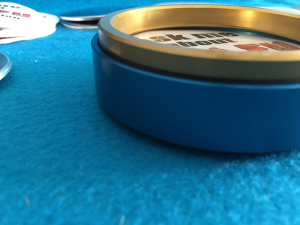
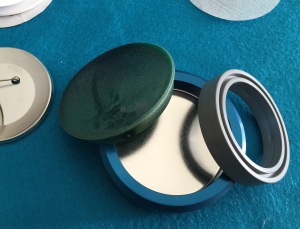
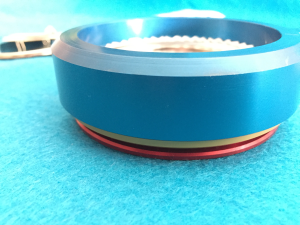
6. Grab your yellow ring. Notice that the black rubber ring is towards the bottom. You need this gasket downward as pictured.
7. Insert the ring. Notice the gasket around the edges.
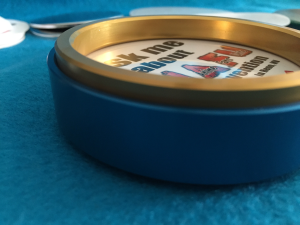
8. Push the ring in so that the gasket is completely hidden inside the blue ring.
9. Turn the whole thing over
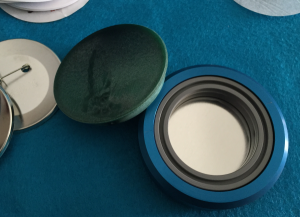
10. Grab your gray ring and green circle.
11. Drop the gray ring inside the blue ring. It does not matter which way it faces.
12. Place the green circle on top of the gray ring with the flat side facing you. The green inner ring will nest just inside the blue ring.
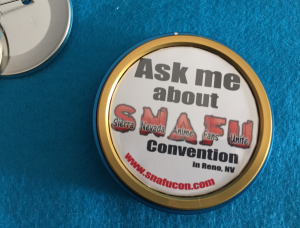
13. Push the green circle in all the way using your palm on the center of the circle or your thumbs around the outside providing an even pressure all around the circle.
14. Turn the assembly over and let the green circle and gray ring fall out of the back. You may need to shake it a little bit.
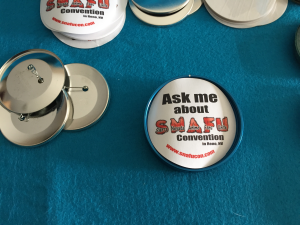
15. Take a moment to review your button at this point. Notice that the button is askew of the notch at the top.
16. Line up your button so that the top of the image is lined up with the notch on the blue ring.
17. Grab your red circle.
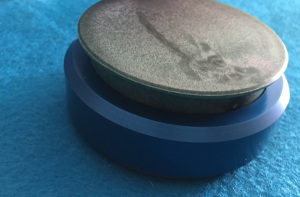
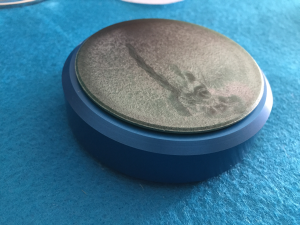
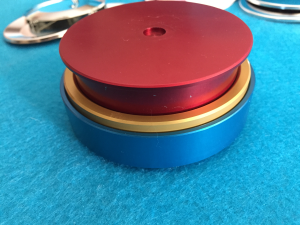
18. Place the red circle on top of your image. The bottom of the red circle should nest within the gold ring.
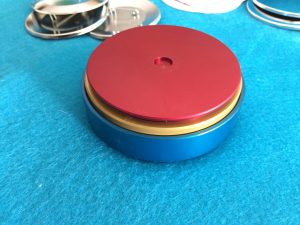
19. Using a very even pressure, press the red circle all the way into the assembly. Push hard and evenly.
20. Carefully turn the assembly over, keeping the red circle in place
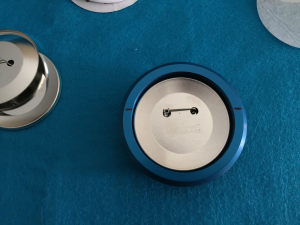
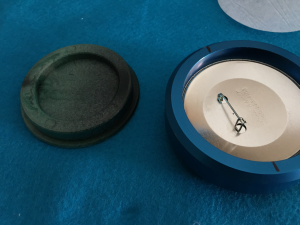
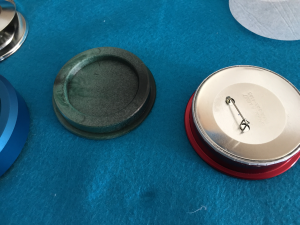
21. Notice the two tiny notches on the back of the blue ring. I have highlighted them in sharpie for this image, but sharpie wears off, so look closely if you don't see black lines. The notches are where you will want your pin back to line up.
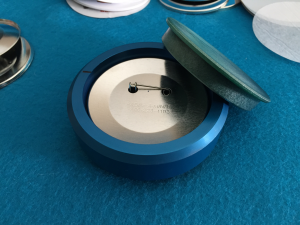
22. Insert your pin back and try to make a straight line between the notches and your pin back. Note that the actual pin part is towards you and opens downward.
23. Grab your green circle, again.
24. Put the green circle inside the blue ring, again, on top of the pin back.
25. Press in slightly and hold the assembly together.
(not pictured)
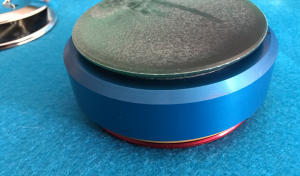
26. Flip the assembly around so that the reg circle is on top. Notice the divot in the top. This divot will line up with the machine. I like to shake the assembly a little bit after flipping it to ensure that the pin part falls out. On rare occasions it gets stuck inside the pin awkwardly.
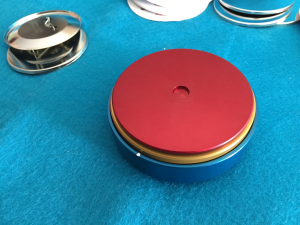
27. Place the assembly into the press so that the divot in the red circle lines up with the machine press piece.
(not pictured)
NOTE: As our adapter is stuck in our black machine, we are using the hand-held. It will not line up. This is okay, push it in as far as you can and then press it, turn it 180 degrees and press it again for good measure. It still works.
28. Press the assembly together. Put some strength into it to ensure that the button is fully and cleanly pressed together.
(not pictured)
29. Pull the pieces apart.
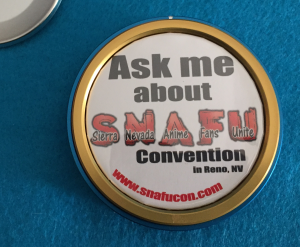
30. Button!
