Laminating Machines/Apache
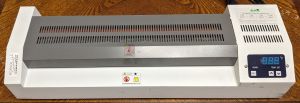
We have two large-format laminating machines from Apache: an 18" capacity AL18P and and a 13" capacity AL13P.
The AL13P has been out of commission since 2019 with a cracked quartz heating element tube. We bought the AL18P in 2021 to replace it.
Disassembly
This procedure is written based on the AL18P but should be nearly identical for the AL13P.
For disassembly you pretty much only need a #2 Phillips screwdriver.
Warning
When it's plugged in, the inside of the machine contains exposed mains voltage. Do not plug in the machine with its white top cover removed unless you have been trained how to safely service mains-powered equipment.
The entire central roller assembly gets very hot in operation. Ensure that the machine has fully cooled before attempting disassembly.
Remove the Top Cover
Remove the gray cover over the rollers. It just lifts up and off.
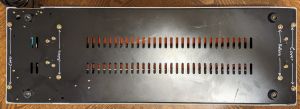
Turn the machine over and remove the outermost four screws on the bottom (labelled "Cover" here). Don't remove any other screws - you don't need to and things will come loose inside, which will make it harder to reassemble later.
Carefully turn the machine back over - the white top cover is no longer attached to the black base, so you'll have to hold them together while you flip it.
Remove the screws on either side of the display. It will fall inwards. For reassembly you'll need to lift the white cover slightly and hold the display up from the inside to reinstall the screws.
Lift off the white top cover and set it aside. You may have to tilt it backwards slightly to clear the back rollers. If there are badges stuck through the slot in the cover and into the rollers it may take quite a bit of force to pull the cover off past them; just make sure that you're only applying force to the stuck badges and not to the rollers.
Removing the Rollers
The rollers are held in place and tensioned by four spring-loaded clamps, one at each corner of the roller assembly.
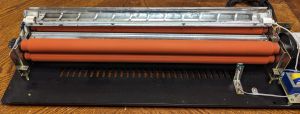
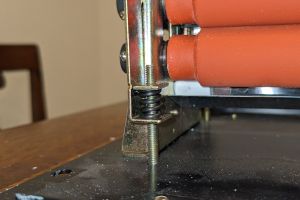
Hang one end of the machine at a time over the edge of the table so you can reach the roller clamp screws on the bottom of the machine without turning it over. Loosen the clamp screws until the rectangular nuts are right at the end of the screws as shown here.
Remove the small screw at each end of the upper heating element shield (the long silvery galvanized metal object between the rollers above) and lift the upper heating element in its shield up and out of the way.
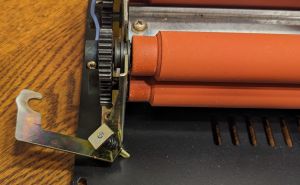
One at a time, pull each of the four roller clamps up as far as it will go and then slide it along its long axis away from the roller assembly. It should stay attached to the base plate; if you remove the nut from the screw it's more annoying to reassemble.
Once all four clamps have been removed, you can lift the rollers straight up and out of their channels. This will reveal the bottom heating element behind the bottom front roller.
Re-Installing the Rollers
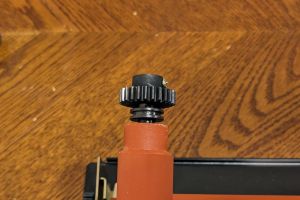
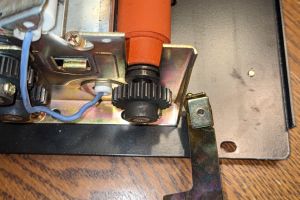
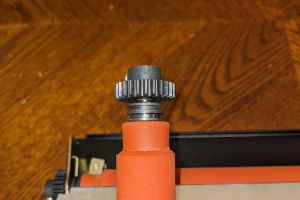
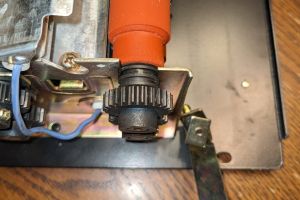
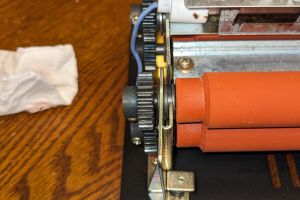
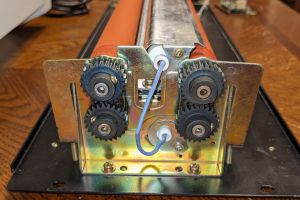
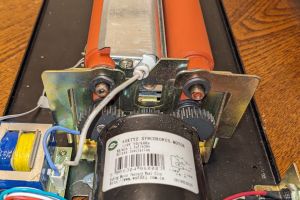
The rollers with single-slot bushings and two gears go on the bottom of each side. The two bottom rollers are identical, so it doesn't matter if you swap them front-to-back. The side with the larger gear faces towards and engages with the motor. The sheet metal roller brackets should fit into the groove in the bushing.
The rollers with dual-slot bushings and one gear go on the top of each side. The two top rollers are identical, so it doesn't matter if you swap them front-to-back. The side with the gear faces away from the motor and engages with the matching gear on the bottom roller. The sheet metal roller brackets should fit into the inner groove in the bushing.
Once all four rollers are in place and the brackets are in the correct slots in their bushings, reinstall the roller clamps one-by-one. Lift the clamp up as far as it will go, align it with the outer groove in the top bushing, and push it along its long axis to slide it into the groove in the bushing until it engages with the notch in the clamp.
Hang one end of the machine at a time over the edge of the table so you can reach the roller clamp screws on the bottom of the machine without turning it over. Tighten the clamp screws until the rectangular nut roughly lines up with the notch in the clamp.
Swing the top heating element in its shield back down into place and install its two screws. Ensure that the flange with the screw hole at each end of the shield is on the outside of the roller bracket.
Cleaning
You'll need isopropyl alcohol, paper towels, and possibly a soft brush like a toothbrush and some kind of scraping tool.
Clean each of the rollers by rubbing it with isopropyl alcohol on a paper towel. Don't use abrasive cleaners or scraping tools on the rollers - they're very easy to nick, which will prevent the nicked area from laminating properly. IPA should be enough to un-stick badge adhesive or plastic that's stuck to the surface, but it can take quite a bit of rubbing. If you need to remove a badge that's wrapped around the rollers that you can't just peel off, cut it loose very carefully with scissors or a sharp blade, taking care not to cut the surface of the roller.
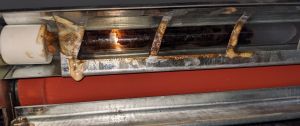
Inspect both heating elements for foreign material and damage.
If the element has burned-on debris like this, clean it off as best you can and then burn off the rest as described below. You can use a scraping tool like a flathead screwdriver to scrape off anything stuck to the metal shield, but be careful not to hit the quartz tube inside: they crack easily. To clean the quartz tube, use IPA with a soft brush or a paper towel. You probably won't be able to get everything off, but the more you get off now the less smoke you'll make burning it off. You should at least try to get any large chunks of plastic off.
If the quartz element tube is cracked or broken, the laminating machine cannot be safely operated until the element is replaced. Reassemble the machine and prominently label it "Broken - Do Not Use".
Burning off Debris
If the heating element has burned-on residue as shown above, even if you clean most of it off the machine will most likely emit some smoke the next time it's turned on, so that needs to be done under safe conditions.
Fully re-assemble the machine, but don't tension the rollers.
Take the machine to a well-ventilated outdoor area away from people and plug it in. Turn it up to its highest temperature setting and leave it until a little while after it stops smoking.
Unplug it and wait for it to fully cool before proceeding.
Disassemble it again and clean the smoke residue out of the interior with IPA. Make sure to clean all of the rollers, as well as the inside of the sheet guide between the heating elements.
